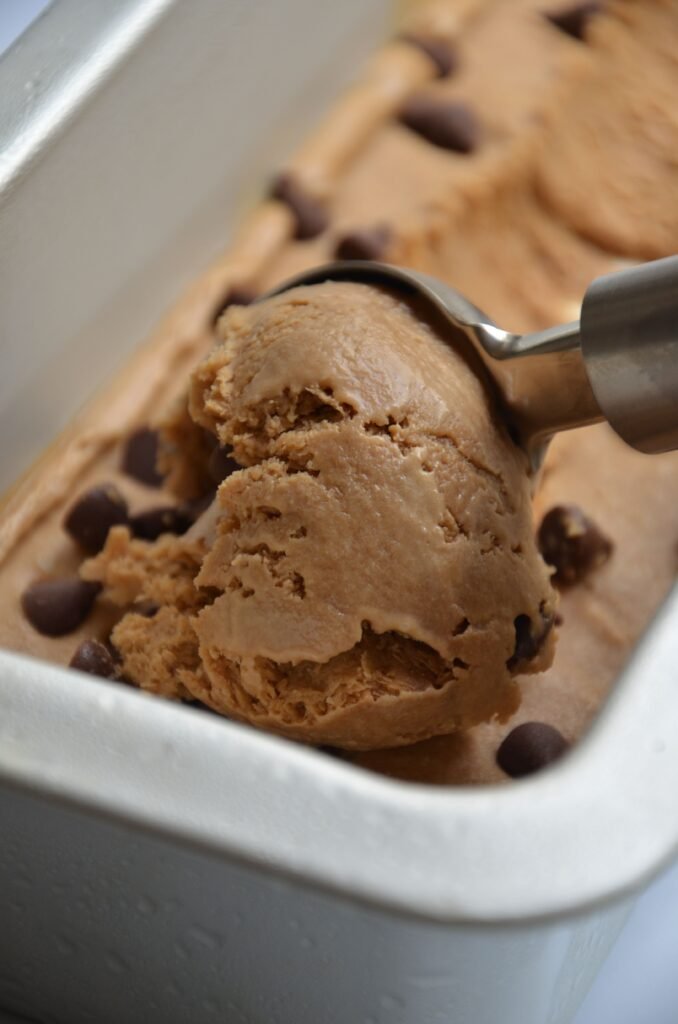
The Ultimate Ninja Creami Guide: How to Make Healthy, High-Protein Ice Cream at Home
If you have spent any time on social media lately, you have almost certainly seen the craze surrounding the Ninja Creami. Unlike traditional ice cream makers that require hours of pre-freezing heavy bowls and sloshing liquid custard around, this viral kitchen appliance turns a rock-solid frozen block into velvety, rich ice cream in mere minutes.
Whether you are looking to create guilt-free, low-calorie protein ice cream, creamy dairy-free sorbets, or decadent full-fat gelatos, understanding how to use your Ninja Creami efficiently is the key to frozen dessert perfection.
What Makes the Ninja Creami Different?
Most traditional churners rely on freezing liquid while whipping air into it over 20 to 40 minutes. The Ninja Creami uses a completely different process called micro-paring.
+-----------------------------------------------------------------------+
|                       HOW THE CREAMIFY PROCESS WORKS                   |
|                                                                       |
|  1. Mix Base & Freeze   --->   2. Dual-Drive Blade   --->  3. Perfect |
|     Solid for 24 Hours         Shaves Frozen Block        Texture     |
|     (Protein, Fruit, Milk)     Top-to-Bottom (Minutes)    (No Ice)    |
+-----------------------------------------------------------------------+
You mix your ingredients, pour them into a specialized pint container, and freeze the mixture solid for 24 hours. Once frozen, the dual-drive motor drives a specialized blade down through the frozen block, shaving and emulsifying the ice crystals into a smooth, creamy texture.
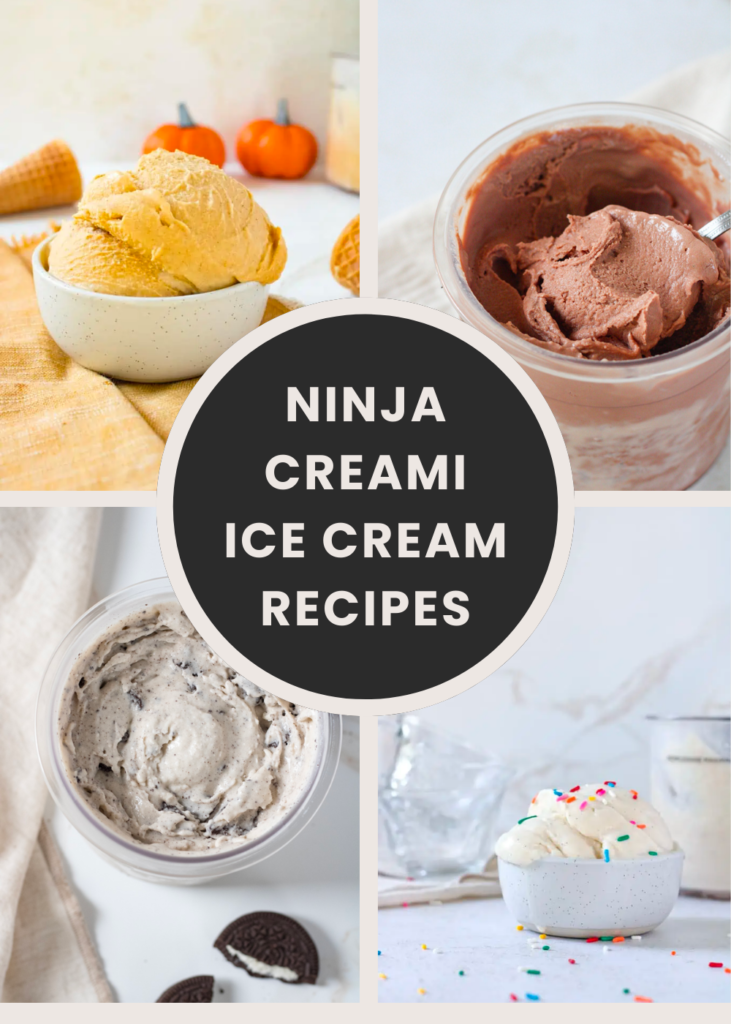
Why Is the Ninja Creami So Popular for Healthy Diets?
The main reason the Ninja Creami has gained a massive following—especially in the fitness and wellness communities—is control over ingredients. Traditional store-bought “diet” ice creams are often filled with gums, artificial fillers, and an icy texture.
With a Ninja Creami, you can transform simple, high-protein liquids into authentic frozen treats:
- High-Protein Ice Cream: Combine a scoop of your favorite whey or casein protein powder with almond milk, a dash of pudding mix, and freeze.
- Keto & Low-Carb Gelatos: Use heavy cream, unsweetened almond milk, and allulose or monk fruit sweetener.
- 100% Fruit Sorbets: Pour a can of pineapple chunks or peaches (with their juice) straight into the pint—no added sugar required.
- Dairy-Free Options: Oat milk, coconut cream, and cashew milk perform exceptionally well under the dual-blade system.
Essential Ninja Creami Settings Explained
To get the best possible results, it helps to know which button to press on your unit:
| Program | Best Used For… | Example Ingredients |
| Ice Cream | Standard dairy or whole-milk bases | Milk, cream, sugar, flavor extracts |
| Lite Ice Cream | Low-sugar, low-fat, or high-protein recipes | Protein shakes, almond milk, stevia |
| Sorbet | High-sugar, high-water content fruit | Canned fruit, fresh fruit purees |
| Gelato | Dense, rich, high-fat bases | Egg yolk custards, heavy cream |
| Mix-In | Folding ingredients into already-spun cream | Chocolate chips, crushed cookies, nuts |
The Ultimate 16 oz Protein Base Formula
Creating a balanced protein base in your Ninja Creami requires a basic understanding of liquids, fats, and stabilizers. Plain protein powder mixed with water or thin almond milk will freeze into a solid block of ice that turns powdery when shaved.
Use this proven formula for a 16 oz pint to guarantee a rich, soft-serve consistency every time:
- Base Liquid (12 oz / 350 ml): Unsweetened almond milk, skim milk, or ultra-filtered milk.
- Protein Source (1 Scoop / 30g): Whey/casein blend protein powder.
- Stabilizer (1 tbsp / 7g): Instant sugar-free pudding mix.
- Emulsifier (1 tbsp / 15g): Softened cream cheese, cottage cheese, or Greek yogurt.
- Flavor Enhancer: A pinch of salt and 1/2 tsp vanilla extract.
3 Pro-Tips to Avoid Powdery or Icy Textures
New users often get confused when their first spin turns out crumbly or powdery. Don’t worry—your machine isn’t broken! Here is how to fix it:
1. Master the “Re-Spin” Button
Low-fat and low-sugar bases often come out powdery after the first cycle because there isn’t enough fat to bind the ice instantly. Simply add 1 to 2 tablespoons of liquid (like milk or protein shake) back into the pint and hit the Re-Spin button. It will turn silky smooth instantly.
2. Flatten Your Pint Before Freezing
Always place your pint on a flat level surface in your freezer. If the liquid freezes at an angle or forms a high dome in the center, the Ninja Creami blade can wear unevenly. If a hump forms, scrape it flat with a spoon before processing.
3. Use a Binder for Low-Fat Recipes
If you are making low-calorie bases using almond milk or water, add a tiny binder to help hold the texture together. Great options include:
- Instant Pudding Mix: 7–10 grams (1 tablespoon)
- Xanthan Gum: 1/4 teaspoon
- Cream Cheese: 1 tablespoon (softened)
Quick Starter Recipe: Vanilla Protein Soft-Serve
If you just unboxed your machine, try this simple recipe first:
- Whisk: Mix 12 oz of Fairlife milk, 1 scoop of vanilla protein powder, 1 tbsp sugar-free vanilla pudding mix, and a pinch of salt until smooth.
- Freeze: Pour into your pint container, secure the lid, and freeze flat for 24 hours.
- Spin: Process on the Lite Ice Cream cycle. Add 1 tbsp of milk and press Re-Spin if needed.
Is the Ninja Creami Worth It?
If you enjoy cold desserts regularly or follow a specific dietary regimen (Keto, Vegan, High-Protein, Low-FODMAP), the Ninja Creami pays for itself quickly. Rather than buying individual $7 pints of specialty protein ice cream, you can make superior versions at home for a fraction of the cost—using real, wholesome ingredients you control.